You’ve just moved into your new office — congratulations! It’s an exciting moment and you’re probably eager to get everything up and running.
But right now, the place feels… empty. The walls are blank, the floors are bare, and there’s not much around that says anything about who you are or what your business stands for.
So, you start thinking — maybe it’s time to hire an architect or interior designer. And honestly, that’s a great idea. They’ll help you with the basics: painting, lighting, furniture layouts, and setting up proper workstations.
But here’s something worth thinking about — is that all there is to office design?
In today’s world, a modern workspace is much more than just good-looking furniture and smart wiring. It should feel alive. It should reflect your brand, your values, and the kind of energy you want your team to feel every day.
If you want your team to feel like they belong, your office needs more than style — it needs personality. Your personality. Your company’s story. Even a little reminder of what you do and why you do it.
That’s when a workplace really starts to feel like home.
Adding a personal touch to your office interiors doesn’t have to be complicated — or expensive. Let me give you a simple example.
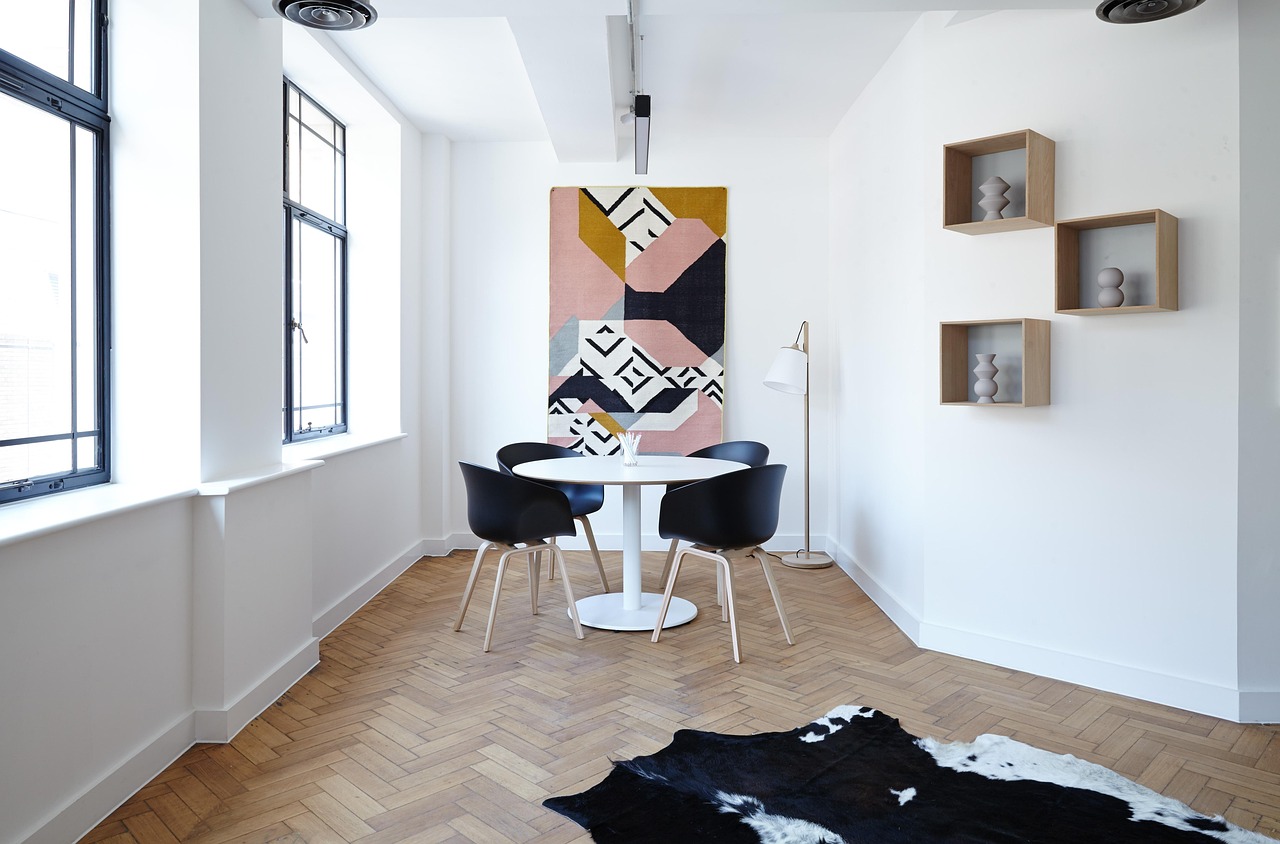
Traditionally, when it comes to decorating empty walls, people turn to paintings or abstract prints. It’s just the done thing. But often, these pieces are random and don’t really say much about the people who work there.
Now, imagine if instead of a generic artwork, you put up a framed poster of your ‘Employee of the Month’. Better yet, use a frame that makes it easy to switch the photo every month.
You’ll be surprised how quickly that one change grabs attention. People love seeing familiar faces on the wall — and let’s be honest, most will quietly want to earn that spot for themselves. It’s a small gesture, but it can spark motivation and bring a sense of recognition into the workspace.
And just to be clear — giving your office a bit of personality doesn’t mean you have to spend a fortune. You don’t need a massive budget. What you do need are the right ideas and a bit of creativity to bring them to life.
That’s exactly what this post is here to do — to spark ideas and offer some fresh inspiration for your office interiors.
We’ll look at questions like:
- How do you turn a plain wall into something that speaks?
- Is there a creative way to add privacy to glass partitions without making things dull?
- What’s the best way to showcase your logo — can it be backlit, 3D, or something totally unique?
- Can ceilings carry your brand message?
And what about the floors — can they be used for something more than just walking? - In the sections ahead, you’ll find seven practical and creative ideas to help bring your workspace to life.
Use them to not just elevate your interiors, but to leave a lasting impression on clients — and create a space your team actually enjoys coming to every day.
Seven Ideas For Office Interior Design & Branding
1. Personalised Wallpapers Carrying Your Custom Design / Images
Think about any room you walk into — you’re always surrounded by walls (obviously 😄).
But here’s the thing: in most offices, those walls are totally underused. And that’s a missed opportunity, because they can actually be a great canvas for branding and adding personality to your space.
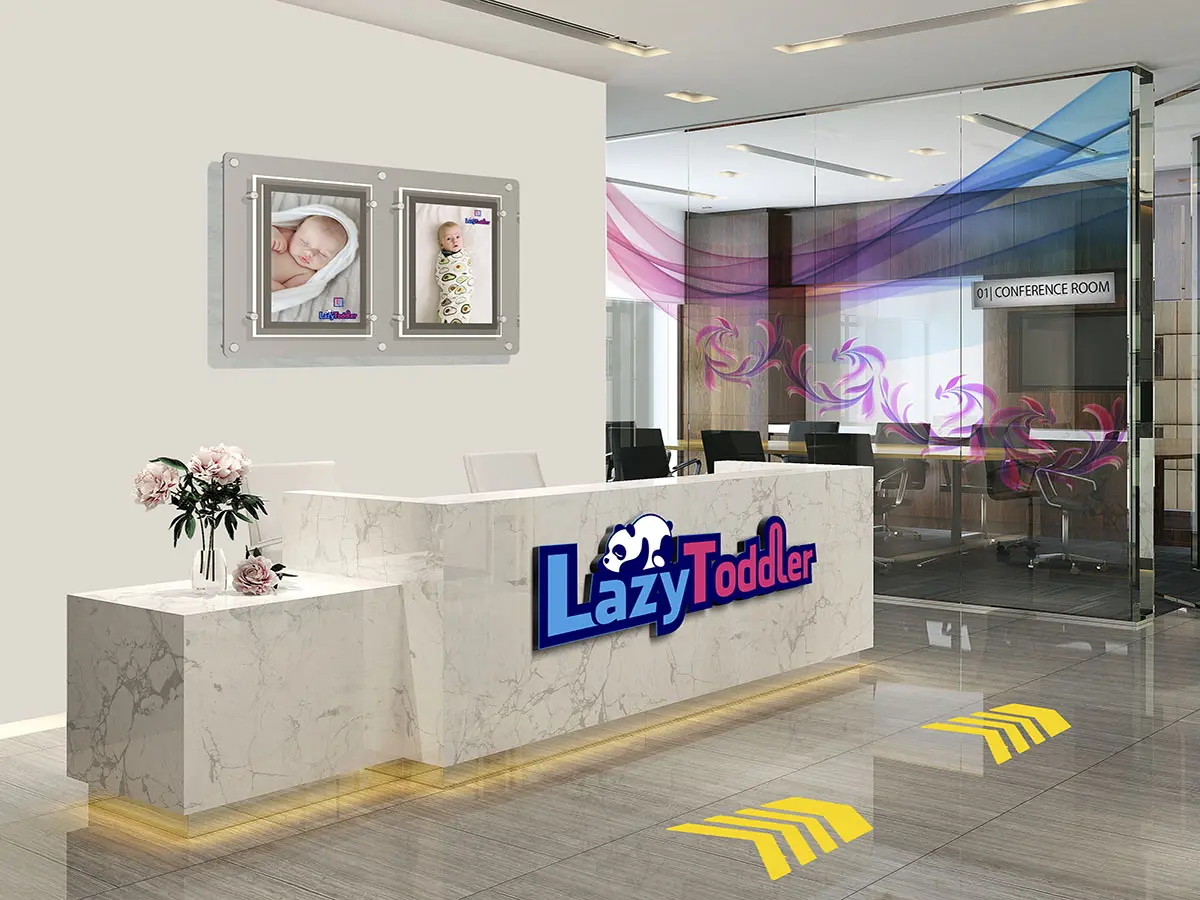
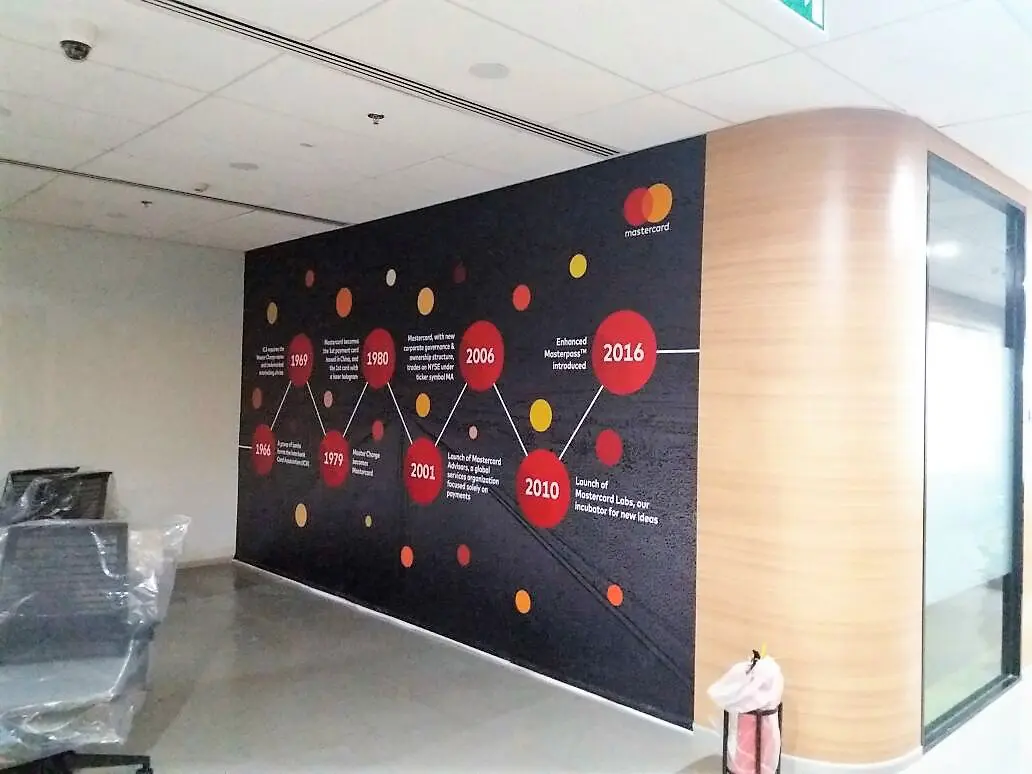
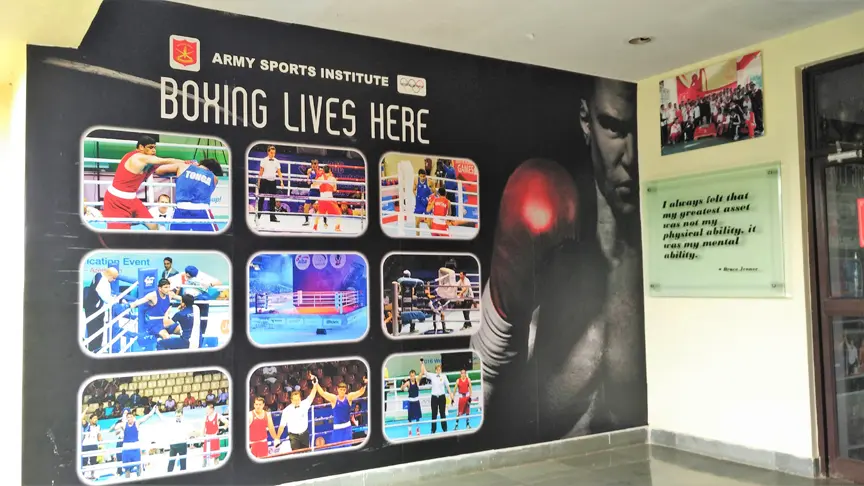
Take your reception area, for example. Let’s say you have a sofa where visitors wait. Now, imagine the wall right in front of them — instead of leaving it blank, why not use it to tell your story? You could showcase your company’s tagline, highlight major achievements, or even display a timeline of key milestones over the years.
It’s simple, visual, and says a lot about who you are — without saying a word.
There are so many creative ways to bring your office walls to life and make them feel uniquely yours.
For example, you could:
-
Showcase a timeline of your company’s journey and key milestones (especially if you’ve been around for a while)
-
Highlight major achievements or growth targets
-
Put up your vision and mission statements where everyone can see them
-
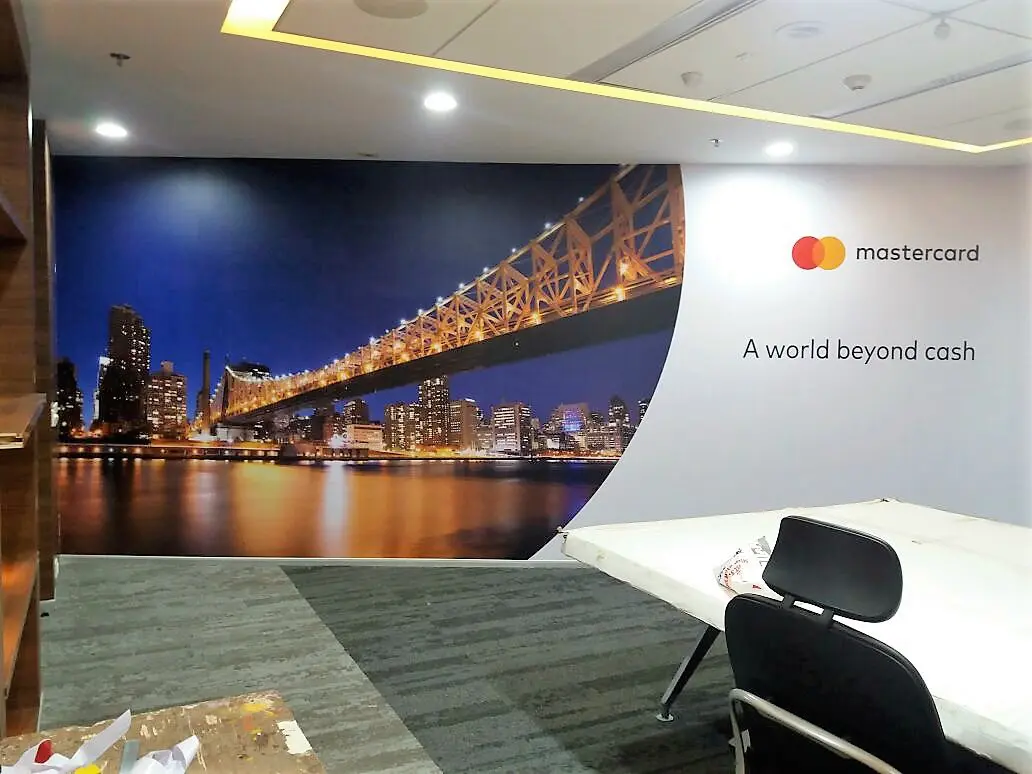
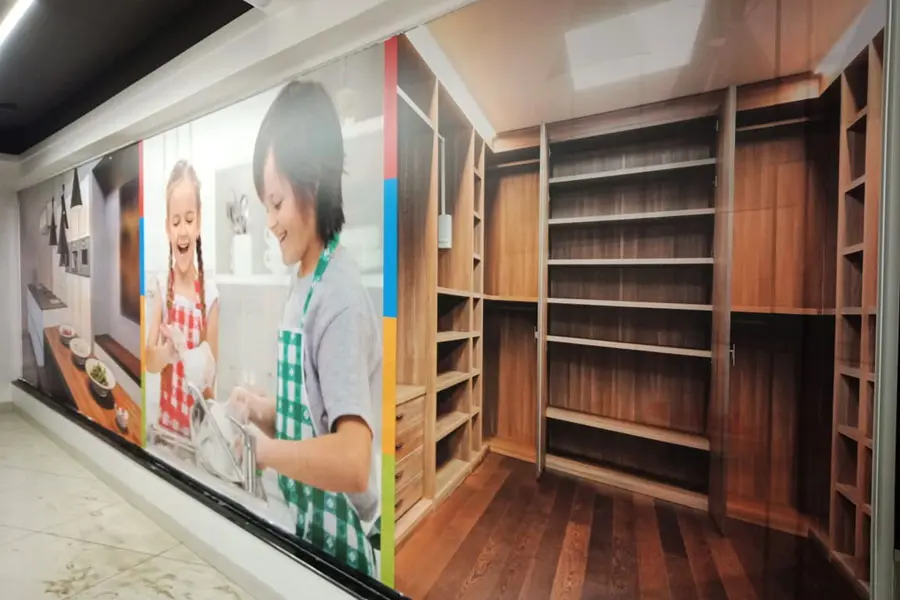
Use high-quality visuals of your products or services
-
Feature large, bold images of your team in action
-
Add inspiring quotes that reflect your company culture
-
And of course, proudly display your logo
But here’s the catch — a regular wallpaper shop isn’t going to cut it. They usually just offer generic patterns or stock images. That kind of off-the-shelf design won’t reflect who you are as a brand.
What you really need is something tailored — something that tells your story.
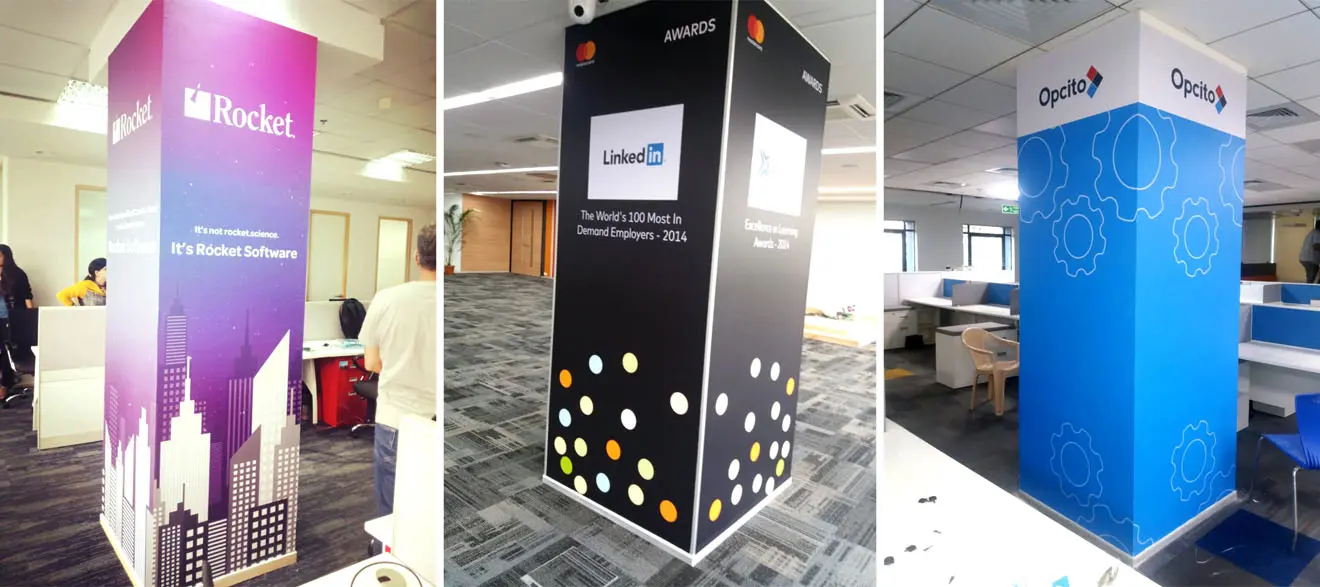
That’s where Custom Printed Wallpapers come in. They allow you to create wall designs that are fully personalized — layouts that represent your business, your values, and everything your brand stands for.
Custom wallpapers are printed at the exact size of the available space on your walls. You supply the content/design, and a print service bureau reproduces the same on specialised wall vinyls. These high-resolution prints are then pasted directly onto the walls of your office.
Two things separate customised wallpapers from other generic prints.
- Their large size
- And, their stunning resolutions
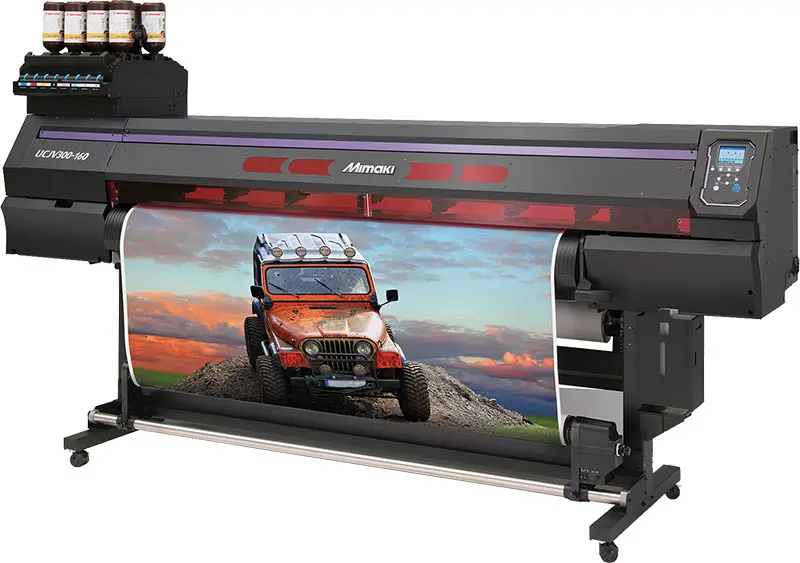
Customised wall prints can be generated for walls ranging from size 4 feet to 40. And even wider. So, print shops use specialised wide format printing machines to achieve these larger than life, print sizes.
Moreover, since we are using these wallpapers as office interior decor elements they will be subject to close-up viewing, and scrutiny. Hence, the prints have to be generated at very high resolutions, to pass muster.
Here are the things that you need to consider, to get the walls in your office, branded…
- Measurements
- Wall Surface
- Design/content
- The Digital Print Provider
- On-site Installation
Measurements
The first step obviously, is to measure the height and width of your walls. Your content creator will need these dimensions for making the design/layout. We’ll talk more about designing, in a subsequent point.
The correct size will also help in estimating the cost of the project.
Wall Surface
You need to ensure that the wall in question is not rough or unfinished. An oil painted wall works best when it comes to pasting wall prints.
Oil paints are not very expensive. And they provide a smooth surface for glueing on a large-sized print.
You should be aware that wallpaper pasting guys routinely use water to evenly stick and smoothen the print on the wall’s surface. So an oil-painted wall surface will not be affected by this moisture.
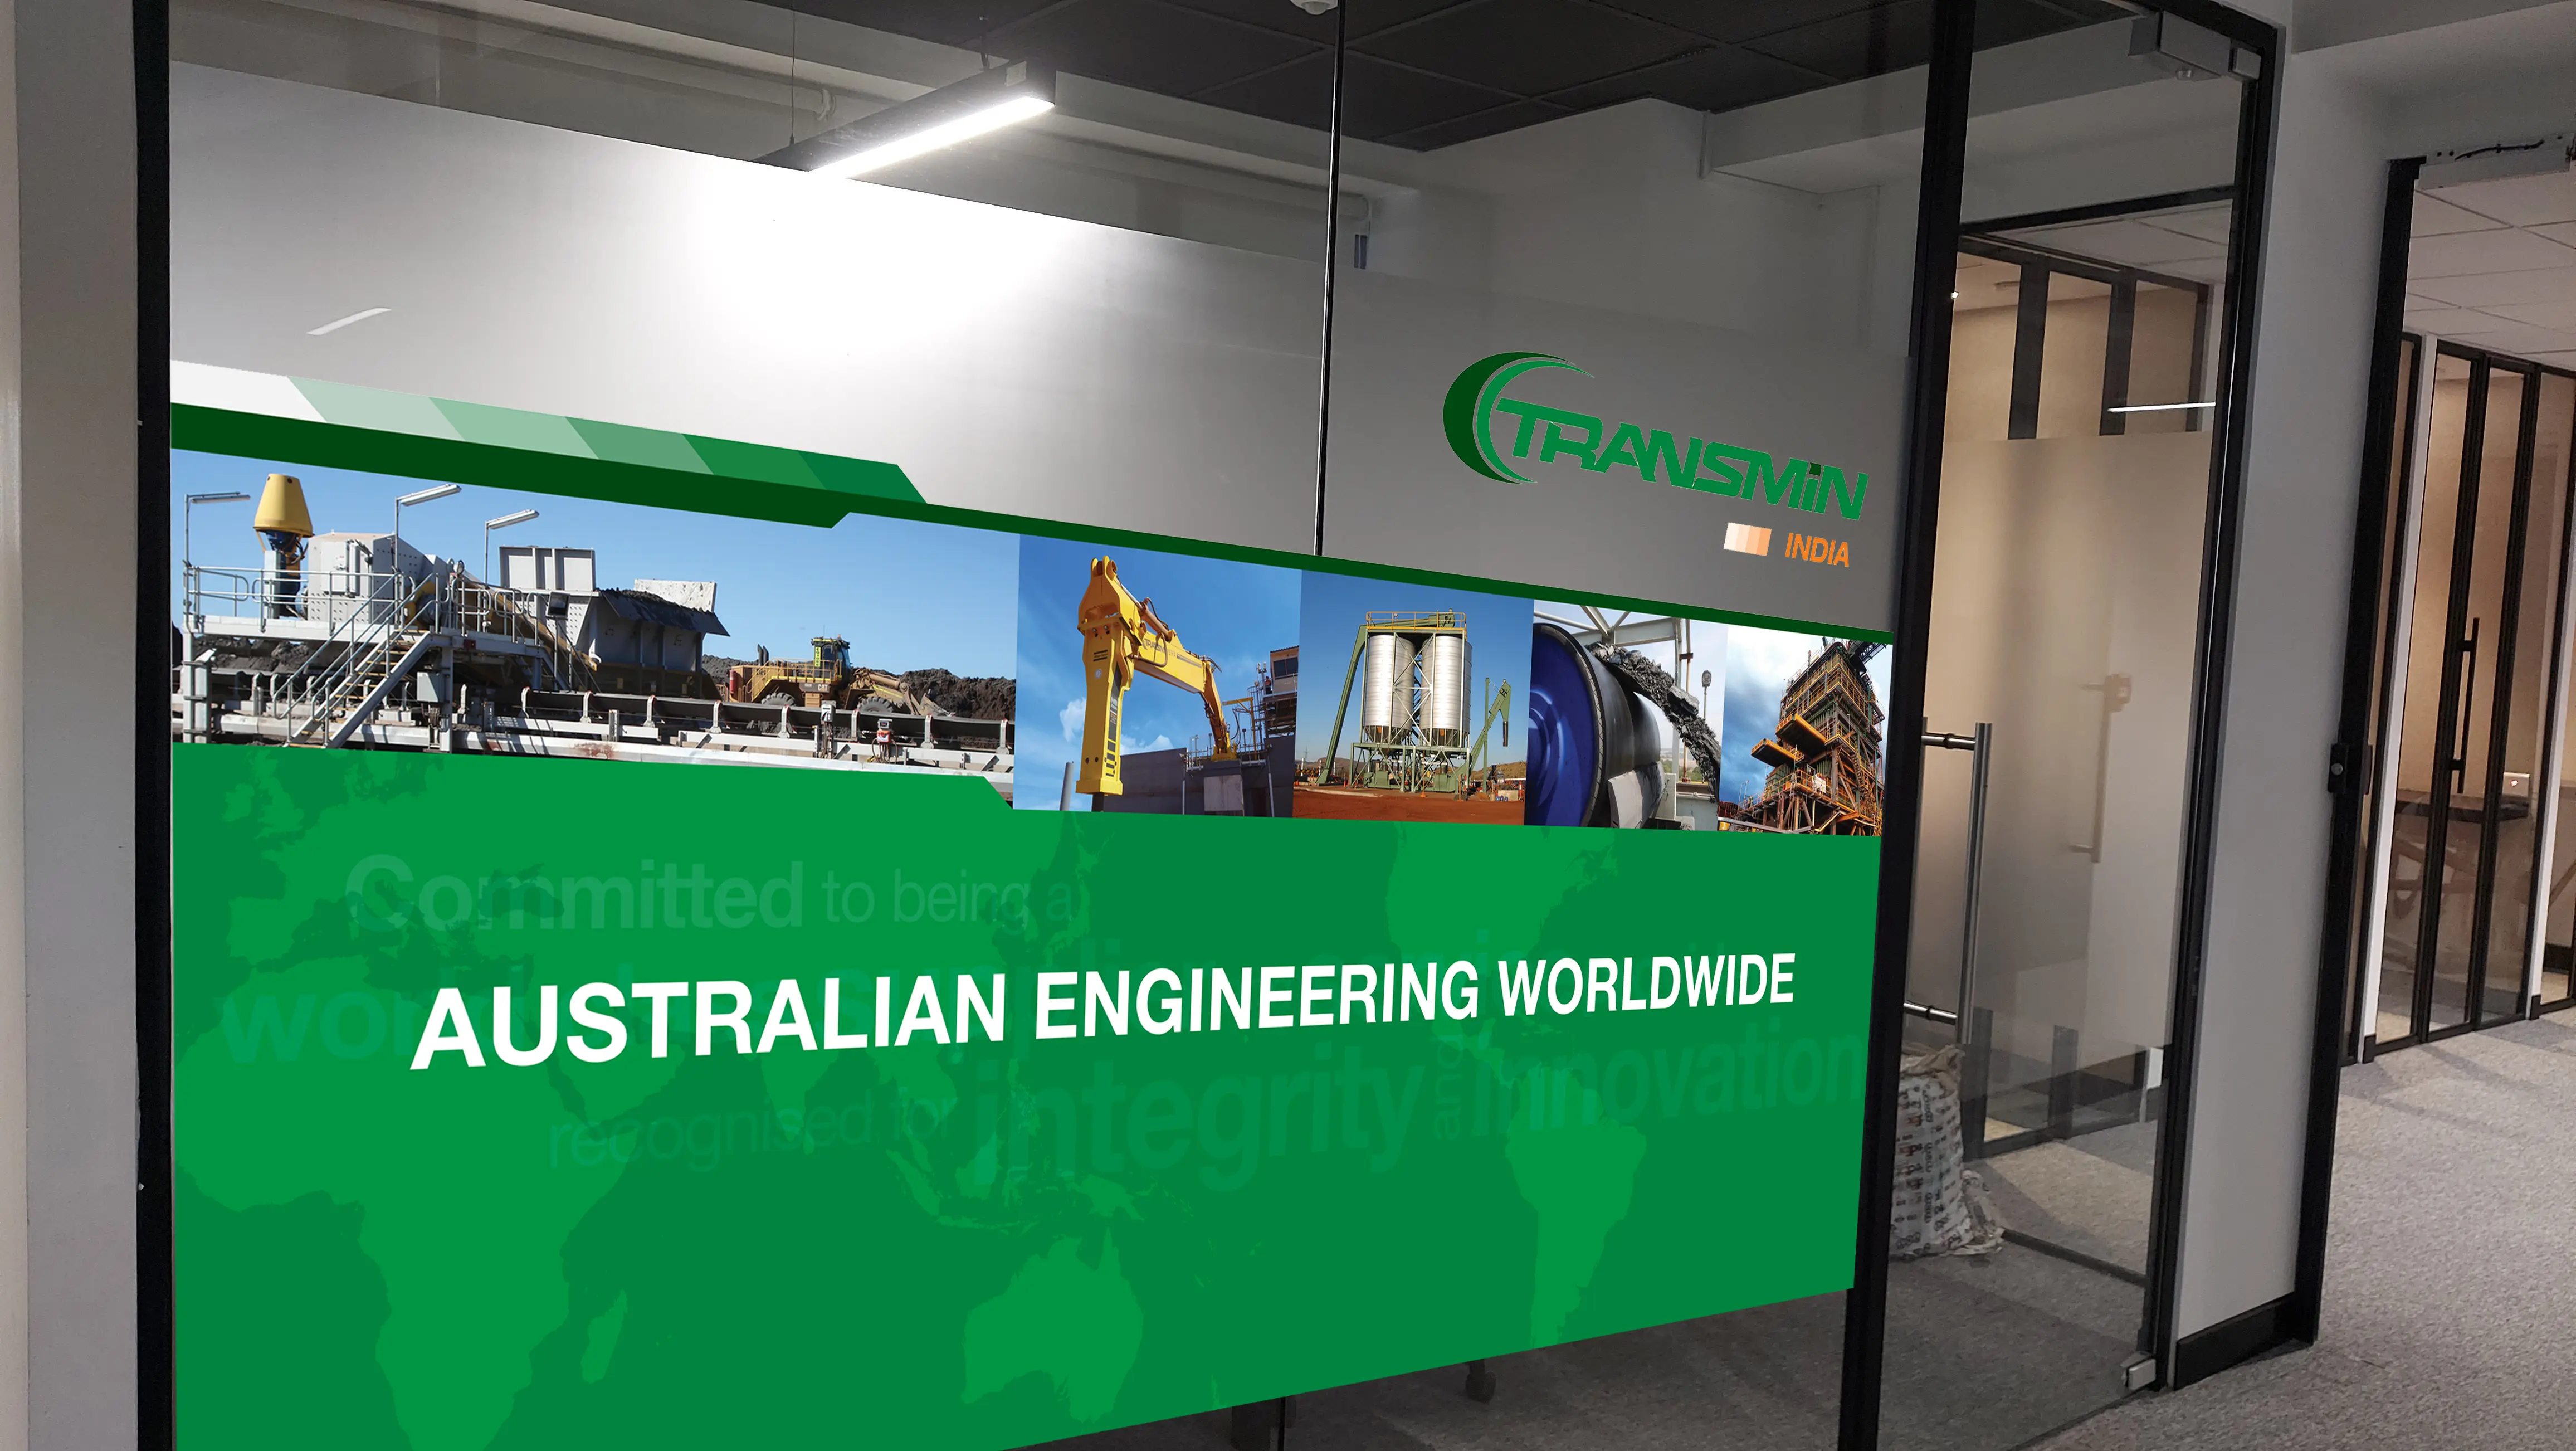
Wallpaper Design/content
Personalised office decor is the central theme of this post. So a wallpaper job will only be as good as the content it displays.
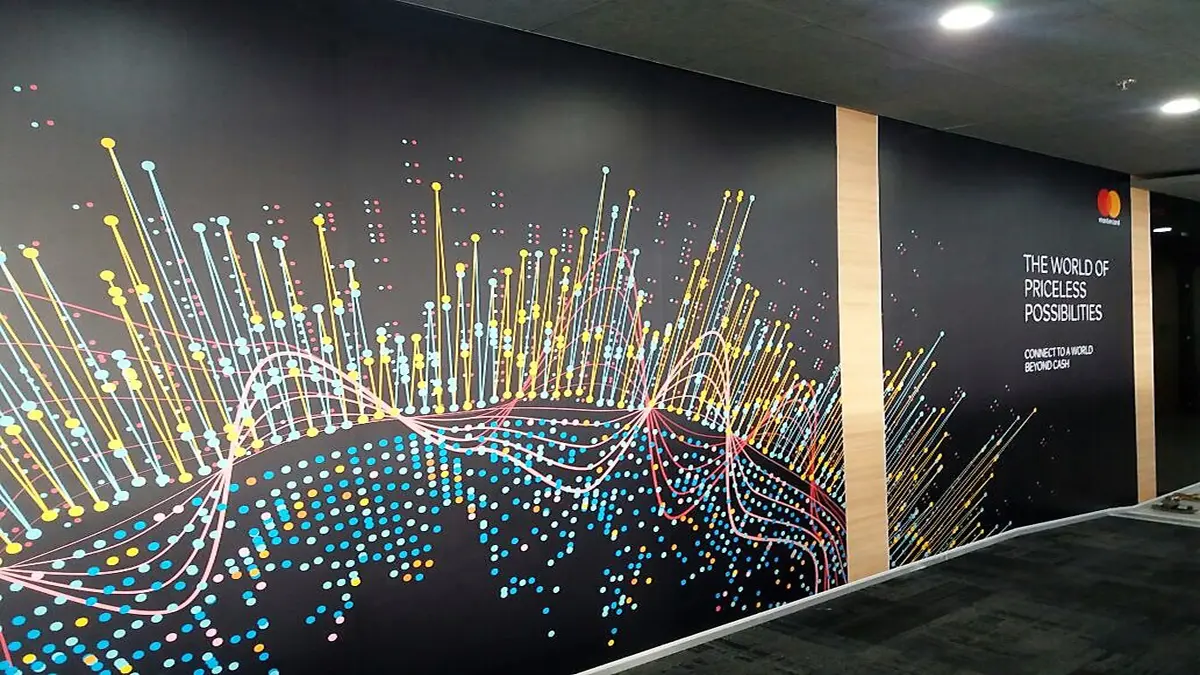
Your wallpaper design can incorporate your company philosophy, images of your team, or even images of your products and services. Be sure to include your logo, company name, and tagline.
Walls in large corporate offices can easily be scores of feet long. So think larger than life imagery while creating your layout — as shown in the image below. After all, the more impactful your design, the more attention your print is going to get.
The Digital Print Provider
Once your art file/design is ready, you need to look for a print bureau that provides wide-format printing solutions.
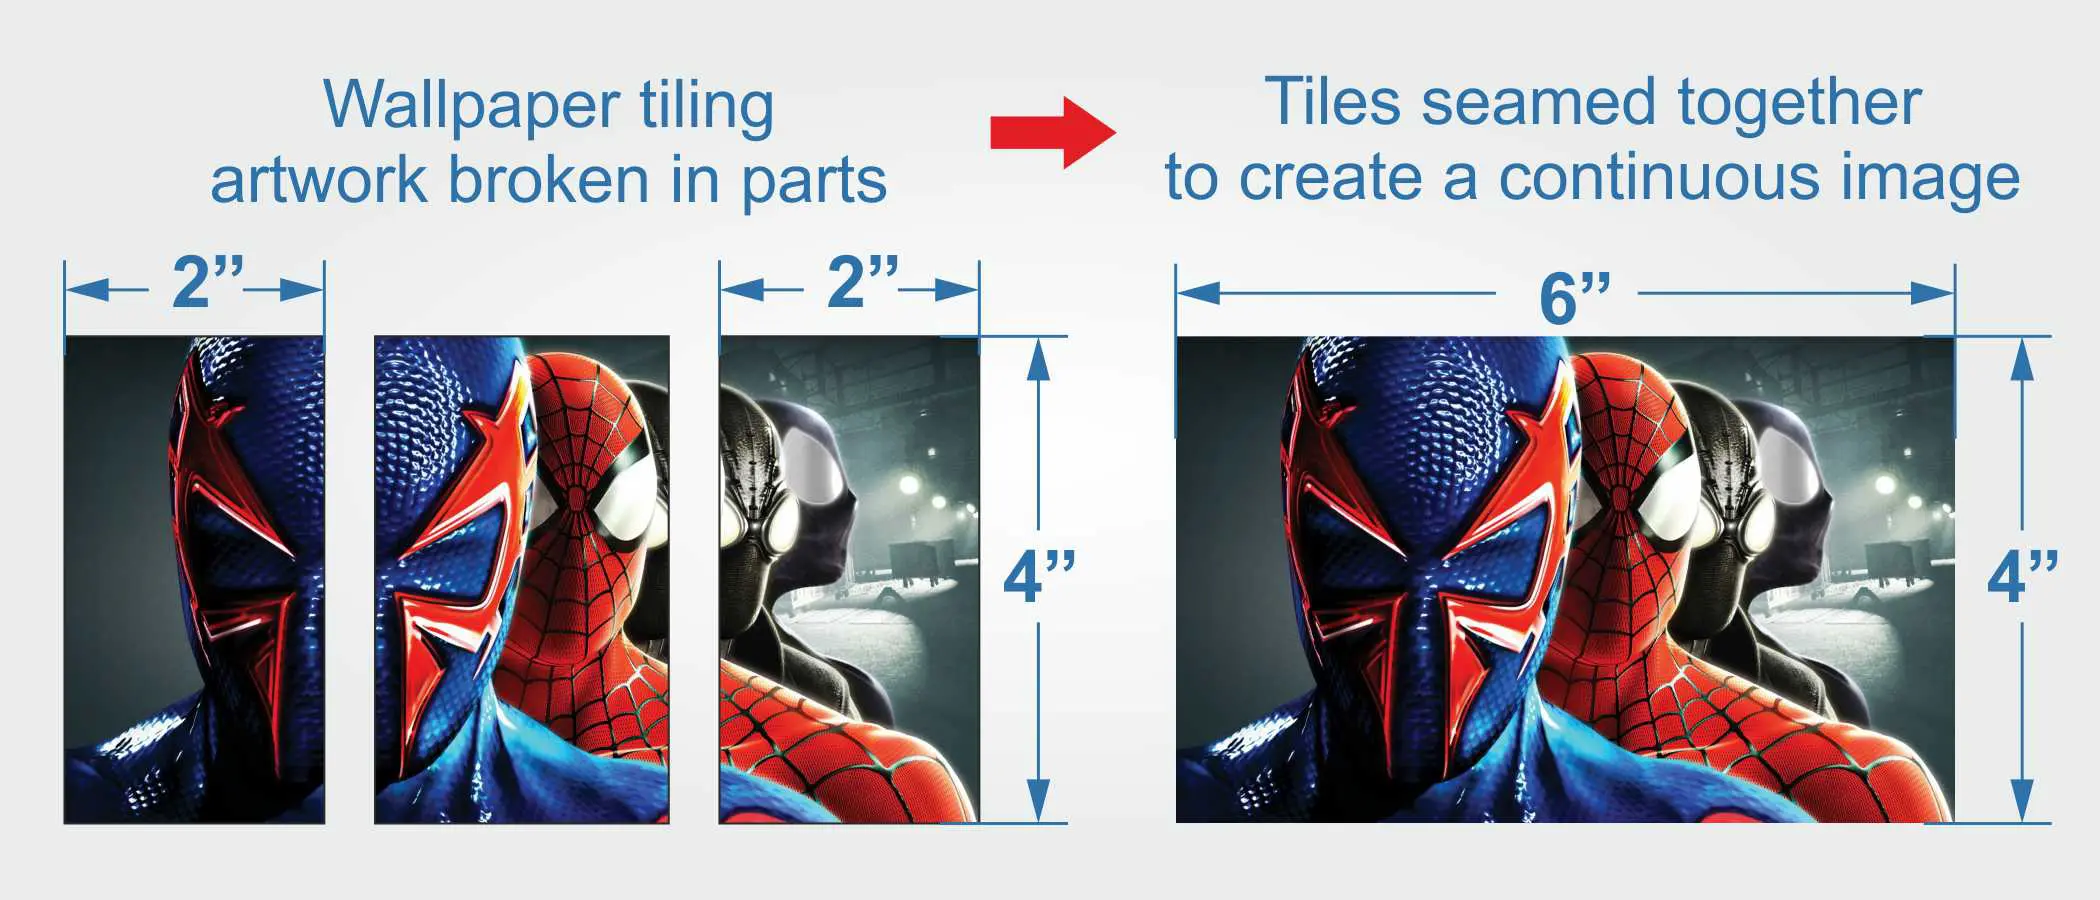
The print shop guys will take your design and break it into manageable tiles of 3 or 4-feet width. These tiles will then be printed out on a specialised wall vinyl.
Vinyl is a media, that printers use, to reproduce images at an extremely high resolution. Moreover, printable vinyl typically has an adhesive back, enabling the print to be pasted on a variety of surfaces.
As I mentioned earlier, our job will be generated on a specialised wall-vinyl material which can be printed upon, and directly pasted on walls.
A print service provider (who knows what he is doing) will also add on a protective layer of lamination. A laminated wall print will easily withstand dust, scratches, water damage and other daily wear and tear. So be sure to enquire about this option as well.
On-site Installation
Custom wallpaper prints are delivered in the form of three, or four feet wide tiles.
So the next step is to paste these individual tiles on the wall and combine them into a cohesive whole. Most print service providers will also have a fitting/pasting team ready to come to your site and finish this job.
Alternatively, you can choose to do the pasting yourself.
Personalising your office walls is a great office interior design idea. But achieving the same will need a little more effort than swiping your card, at a generic wallpaper shop.
Implement the above steps. And trust me.
The end result will be worth it.
How Much Does a Personalised Wall-print Cost?
Commissioning a wall print carrying your personalised design, costs INR 70 per square foot, here in India.
The price includes…
- The wall media (we generally use a brand called Avery or 3M)
- The actual print
- And a top coat of protective lamination
So, as an illustration, if you need to cover a wall of size 10 feet X 8 feet, it should cost you:
10 feet X 8 feet X INR 70 = Rs.5600.00 + taxes
Please remember that installation costs are generally quoted separately.
This is because while some people want end-to-end services, others prefer to do the pasting themselves. You should budget for an additional 20/30 rupees per square foot if you need someone to come over to your site and do the pasting.
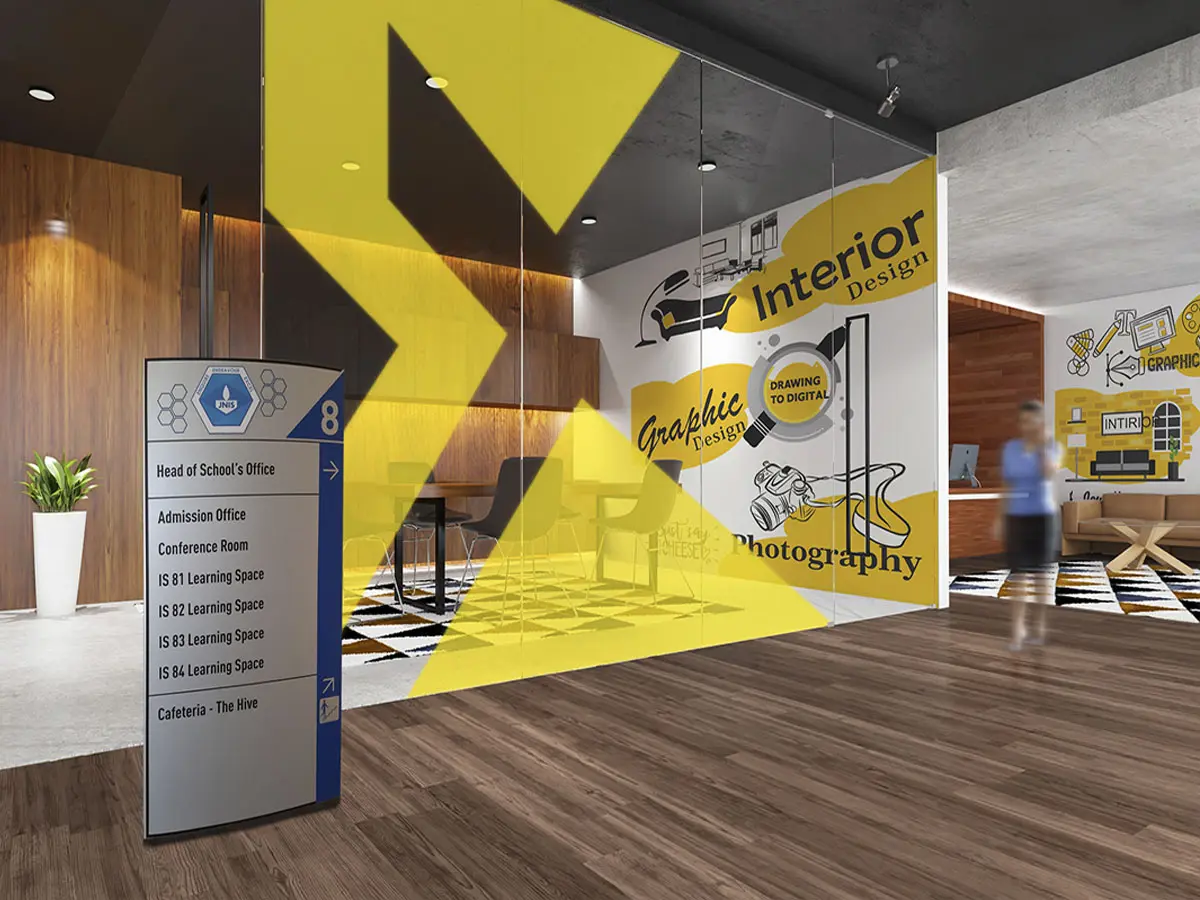
2. Glass Film Prints for Store-fronts, Windows and Cabin Partitions
These days, you’ll notice that most modern supermarkets and corporate offices are filled with glass — from storefronts to partitions. And much like walls, these glass panels offer a great opportunity to add branding and personality to a space.
With a bit of creativity, you can use them to display your company’s mission and vision, core values, motivational quotes, product visuals, or even custom graphics that reflect your brand.
What makes glass unique is that it adds another layer to work with — transparency.
Thanks to different types of printing materials, you can actually control how see-through or opaque the final design is. It’s a powerful feature that we’ll dive deeper into shortly.
But first, let’s take a look at how glass printing actually works.

Two Ways to Brand Glass Panels: Printed Film vs Direct Printing
When it comes to adding branding or graphics to glass surfaces in your office, there are two main ways to go about it:
-
Print directly onto the glass panels
-
Print on adhesive-backed glass films and stick them onto the glass
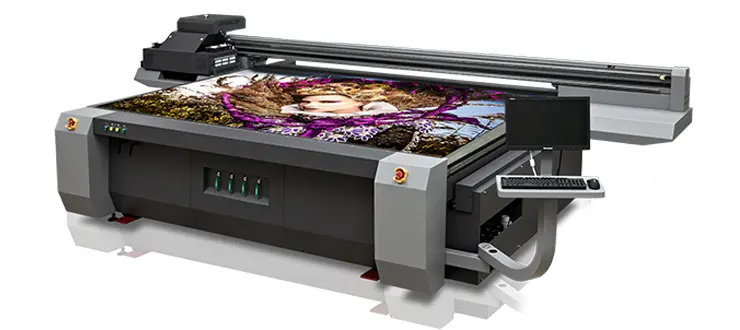
In the first method, professional print studios use a process called Flatbed UV Printing, where the glass panel is placed directly into a special printer. This machine uses UV inks designed to bond with smooth surfaces like glass, allowing the design to be printed straight onto it.
The second option is to print your design onto a transparent or frosted film that has an adhesive backing. Once printed, the film is carefully applied to the glass surface, giving you a sleek, branded look without printing directly on the glass.
Both approaches have their own advantages — it just depends on the look you’re going for and the level of flexibility you need.
But there’s a bit of a catch with this method.
To print directly onto glass, you’ll need to physically take the glass panel to the print shop where it can be processed using a flatbed printer. After printing, that same panel then needs to be carefully transported back to your office and installed.
And that’s where the challenge begins.
In most offices, the glass panels and partitions are already fixed in place. Removing them can be tricky — not to mention the hassle (and risk) of moving large, fragile sheets of glass back and forth.
Another thing to consider: UV prints are pretty much permanent. That’s great if you own the space, but if you’re in a rented or leased office, making permanent changes like this might not be allowed.
Plus, because the print is fixed, it’s not ideal for content you might want to update or refresh in the future.
The good news? There’s a simpler, more flexible alternative to direct printing on glass.
This is where a print service bureau prints your designs on specialised films. These printed films are then carried on-site, and pasted on the panels in your office.
Custom printed glass film prints offer two great advantages:
- Rollback and changeability
- Control over privacy by selecting a transparency level
Types of Glass Film Prints That Can be Used to Brand your Shop and Office Interiors
Transparent Glass Film Prints
As the name suggests, prints on these films are completely transparent. While they depict an image on the glass surface, they also allow light and vision, to pass through.
So if the glass frontage of your office building is branded with transparent glass films, people passing by will be able to see the inside of the office, in addition to the images on the print.
Frosted Glass Film Prints to Enhance your Office Design Interior
Frosted glass film prints impart a beautiful, dusky, smoked effect to the panel beneath. These films are translucent in nature.
This means that the film will allow natural light to pass through. But at the same time, since they are not transparent, a casual passerby cannot glance inside the office or see the people inside.
On the other hand, because of the smoked effect, people inside the office cannot see the happenings on the other side of the glass panels either.
Frosted glass film prints allow for beautiful office interior branding. Moreover, these prints do not cut natural light. And, on top of all this, they protect the privacy of the occupants inside the office.
The one disadvantage of frost film prints is that people on the inside, cannot see what is happening outside either. And that is something, the next option will enable…